
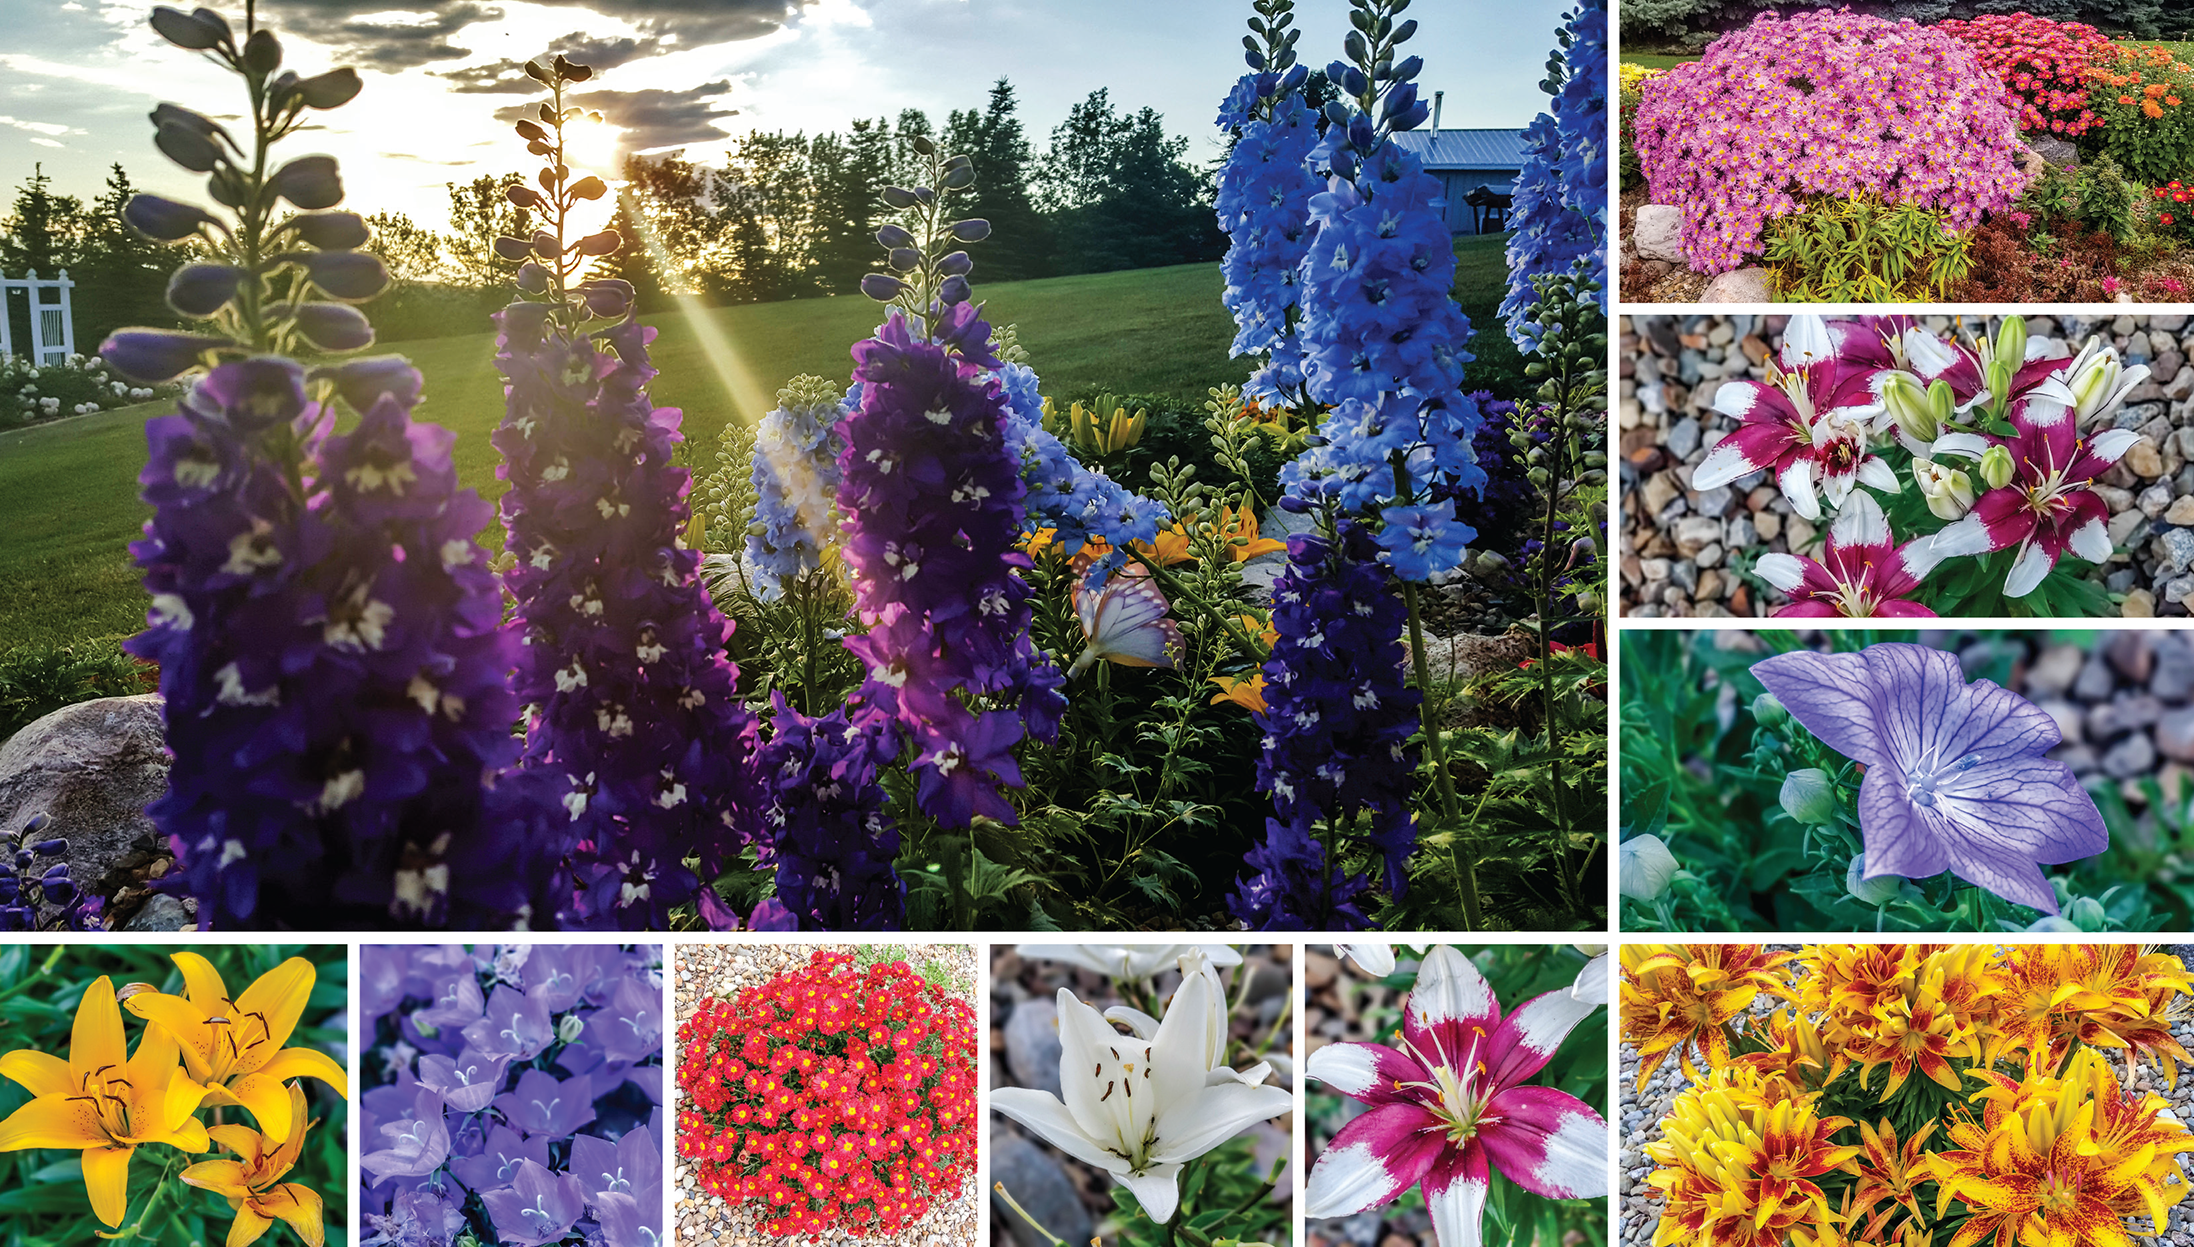
 for more information about perennials that may be suitable for your garden. Photos by NDAREC/Clarice L. Kesler")
A wide variety of hardy perennial plants do well in North Dakota. Some popular local perennials include: asters, chrysanthemums, coneflowers, daylilies, hostas, peonies and sedum. Visit www.perennialresource.com(link is external) for more information about perennials that may be suitable for your garden. Photos by NDAREC/Clarice L. Kesler
If you’re thinking about planting a garden this spring, look to perennials to provide seasons of beauty, low maintenance and a good return on your investment.
What is a perennial? A perennial is a plant that regrows and lives more than two years. Unlike annuals that provide a season’s worth of blooming before they die, perennials bloom for a few weeks. After the blooms fade, the plants’ foliage remains intact until dying back after a freeze, but their robust root system stays warm underground and allows the plant to return to the garden for several more years.
However, depending on where you live, some plants may take on a different role. If you live in a colder climate like North Dakota, a perennial may become an annual, and in warmer climates, some annuals will act like perennials. This is because the plant’s roots systems and foliage are sensitive to the coldest and highest temperatures within each zone.
When shopping for perennial plants, be sure to look at the plant’s label and check the recommended zone. For North Dakota, those zones are 3 and 4. You can find the planting zone you live in by visiting https://planthardiness.ars.usda.gov.
 Reaching a plant’s potential
Even though perennials are low on upkeep, if you want these plants to thrive, you’ll need to nurture them a bit.
One way to give them the care they need is to divide them every few years. This gives the existing plant room to keep expanding, and it gives you another plant to place in your garden or give as a gift for someone else’s garden.
If you notice a perennial is producing less blooms and is smaller than it was the year before, it is likely time to divide the plant or it may not survive to bloom again the following year.
A common guide for when to divide perennials is to consider when they bloom and think the opposite: If they bloom in the fall, divide in the spring; if they bloom in the spring, divide in the fall.
When dividing in the spring, be careful not to disturb the root system if the soil is wet or damp. In the fall, be sure you are dividing the plant at least four weeks before the ground freezes to give the root system time to establish. You can get an estimate of when the ground typically freezes in your zone by visiting www.plantmaps.com.
Whether you divide in the spring or fall, try to pick a cloudy day rather than a hot day, and water the ground if it is dry. If you can plan so the planting is followed by a couple rainy days, that’s even better.
For best results, mulch perennials or let their dying foliage remain intact after the freeze, to trap snow, which will help keep roots warmer through the winter.
With little pampering, perennials can become the perfect, primary plant in your garden.
Clarice L. Kesler is communications manager for the N.D. Association of Rural Electric Cooperatives. She can be reached at ckesler@ndarec.com.
 Tips for dividing perennials
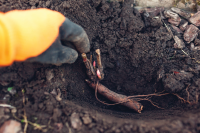
1. Moisten the soil to make the plant easier to divide, the day before you plan to divide it.
2. Using a spade or shovel, dig up the entire clump of the plant. This will give you plenty of roots in which to establish a new plant.
3. Cut the clump apart and keep three to five shoots per transplant.
4. Remove loose dirt from the plant.
5. Discard any dead leaves, broken stems or roots with a knife or pruning shears.
6. Plant the clumps about as deep as the original plant, pack the soil and water it.
7. Water the plant until the roots are well established.
Source: University of Minnesota Extension Service


